
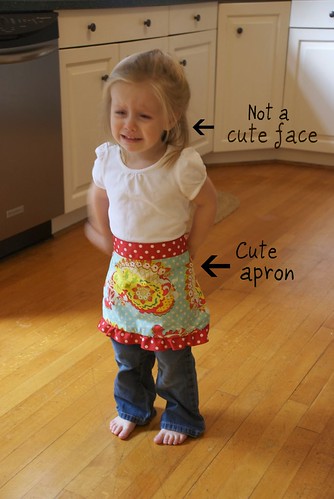
 She loved the apron. Clearly, she did not enjoy me asking her for a picture while wearing it!
 While Will was away for the weekend doing manly things (like hunting and working on the cabin), the girls and I stayed home doing girly things (like baking and sewing). One of the projects we tackled was making Anna Cate her own apron to wear while she helps me in the kitchen. I don't know about everybody else, but I for one, LOVE to wear an apron while I'm cooking, washing dishes, cleaning the house, yes, and even doing laundry. There is something about wearing an apron that helps make housework fun and gets the job done a little faster.


Want to make one of these darling aprons for your favorite little helper?
Here's what you'll need:
- 2 pieces of fabric (ours were 10" x 14")
- 4 yards of ribbon
-lighter
Yep! That's it! and it takes all of 30 minutes to put together so let's get started:
Step 1: Decide how wide and long you want your apron to be and add 1" to both measurements. Then cut 2 rectangles out of coordinating fabric using these dimensions.
Step 2: Take the width of the apron and multiply by 1.5. Whatever number you get will be the length of ribbon you need to cut to make the ruffle.
*Then take your lighter and singe the ends of the ribbon to prevent fraying.*
Step 3: Now set your machine to the longest stitch (mine is 4) and run a stitch along the edge
of the ribbon.
Step 4: Gather the ribbon to make your ruffle until it measures the length of the apron.
Step 5: Pin the ruffle to the bottom part of the fabric that will be the front of the apron, making sure to pin RIGHT sides together. (Meaning, the polka dots on my ribbon should be facing the pattern on the fabric.)
Now change your machine back to the regular stitch (mine is 2) and sew the ruffle to the apron.
Step 6: Ok, now this step is important if you don't want your ruffle to get caught up in the side of the apron when you stitch it together. Fold the two ends of the ribbon up at a 45 degree angle away from the edge of the fabric and pin in place.
Step 7: Lay your back piece of fabric on top of the front piece and pin into place. Again, make sure that the right sides are facing each other.
Step 8: Once you've pinned the two pieces together, you should have an apron sandwich with the ruffle sandwhiched between the two pieces. Start sewing at the top of the rectangle, and continue all the way around the perimeter until you come about 2" from your starting point. You will want to leave this "hole" open at the top so that you can turn your apron inside out.
Step 9: Once your apron is turned inside out, find the center of the remaining length of ribbon and pin onto the top of the apron. Stitch the ribbon onto the front top of the apron and you are finished!
Easy peasy and cute as can be!
**************************
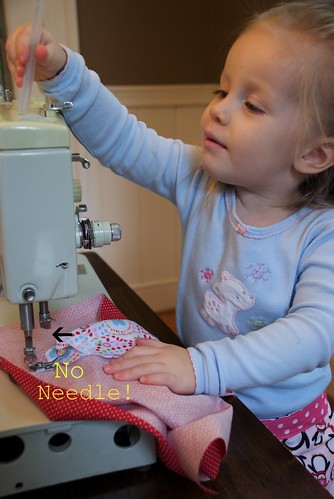
While I was working on the apron, Anna Cate would crawl up into my seat and try to "sew" on my machine. I dug out my grandmothers old machine that no longer works and removed the needle. We set it up at the other end of the table so she could work on an apron for her bear while I was finishing up hers.
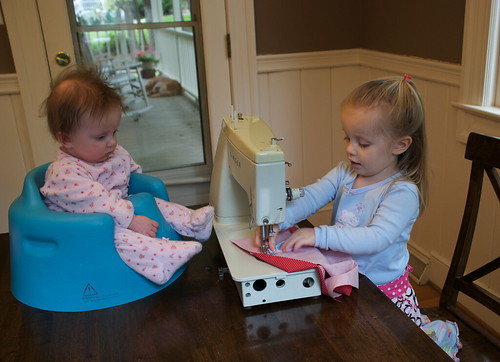
Then this little munchkin woke up from her morning nap and joined in the fun. I love her crazy hair and it is starting to take on a reddish hue!
Anna Cate is explaining the safety precautions you must practice when you are using a sewing machine to Caroline who is listening very intently so that she too can sew with us one day.
Whew! Now I remember why it has been months since I've posted a tutorial on the Crafty Little Chick blog! I think that took me twice as long to type the tutorial as it did to make the apron!
oh MY! ADORABLE! Love that little apron! Definitely want to whip one of those up one day soon!!
ReplyDeleteThe apron is so cute. Plus the model makes it look even cuter! Thanks for all the steps!
ReplyDelete