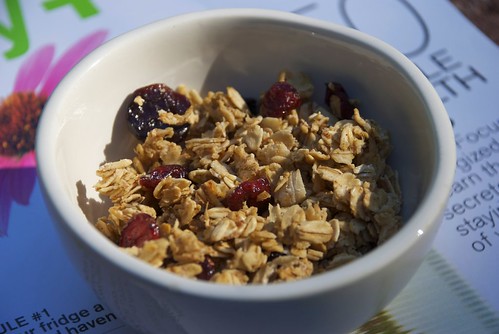
My sister surprised us with a visit home this weekend and brought with her a yummy recipe for granola. Anna Cate loves to sprinkle some "nola" on her yogurt each morning and so we had to make a batch. It is really yummy and super easy to make!
Mix together:
-3 cups of oats
-1/3 cup water
-1/3 cup brown sugar
-1/3 cup of oil (but we substituted half of that with honey)
Then mix in any spice and/or other ingredients you want in the granola.
We added 1 tsp of cinnamon and a cup of dried berries.
Bake in oven at 250 degrees for 40 minutes. It's that easy!
************************************************************
And while I'm sharing recipes, this is one you HAVE TO TRY. I'm hooked on the lettuce wraps at Miyo's and I've finally found a recipe that is pretty darn close to the real thing. In fact, I don't know if you could tell the difference between the two in a taste test.
You'll need a little of this (1/4 cup of each to be exact):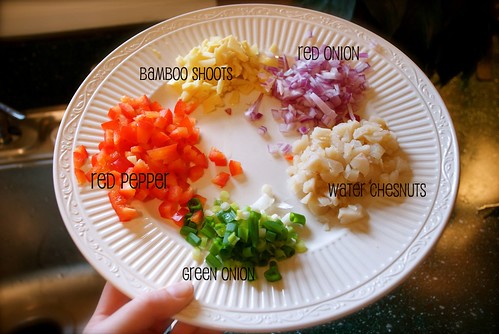
And a little of that:
Plus a couple of chicken breasts, a head of iceburg lettuce, oil, and cornstarch. Oh, and about 1/4 cup of brown sugar.
Directions:
1. Dice chicken (and I dice mine just about as small as I can get it) and coat with 1/2 Tbsp. oil and 1 tsp. cornstarch.
2. Heat a pan at high head and when hot, add 1 Tbsp oil and chicken. Sear for about 30 seconds.
3. Add red onions and red bell peppers. Let sear for 30 seconds.
4. Add bamboo shoots and water-chesnuts and stir-fry for about 2 minutes.
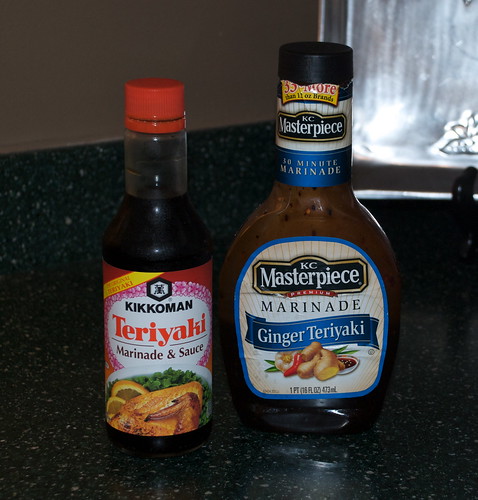
5. While this is cooking, mix in 1/4 cup of brown sugar to 1/2 cup of the Ginger Teriyaki Marinade.
6. Pour sauce into the pan and stir-fry another 2 minutes.
7. Remove from heat and add in the green onions.
8. Serve with the lettuce cups and teriyaki sauce.
Two words: OH YUM!
(You can find the bamboo shoots in the ethnic food section in a little can)


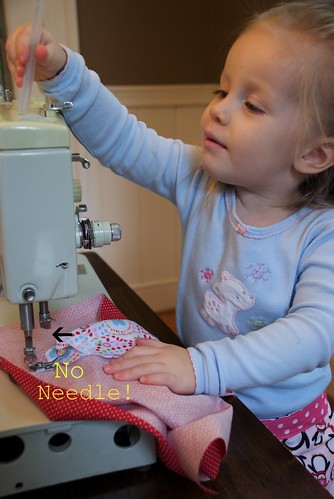
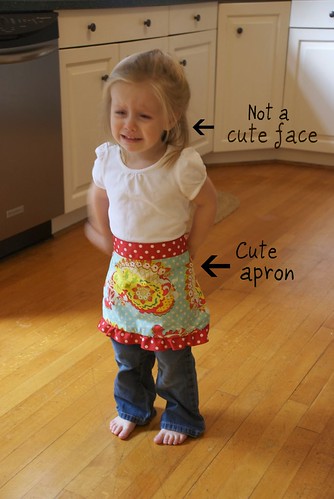 She loved the apron. Clearly, she did not enjoy me asking her for a picture while wearing it!


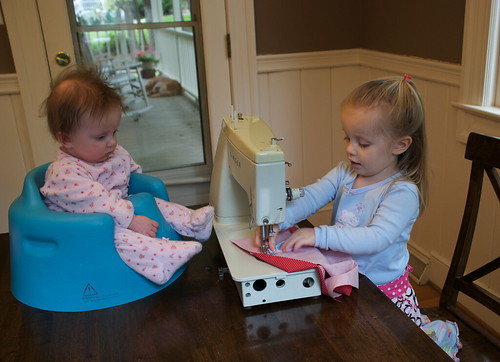


 getting better...