Tuesday, September 14, 2010

Cookies!

OK, so seriously, let's just pretend it didn't really take me almost two weeks to find the time to blog about what I made in the kitchen with the apron (which by the way, wasn't even the one I actually wore because it was a gift but looked cuter than the one I actually made for myself!) Details, details...

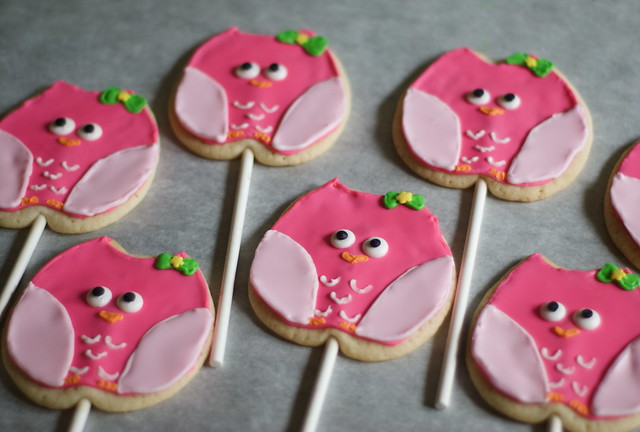
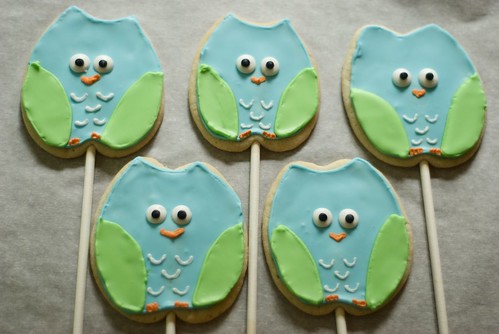
In case I did happen to keep anybody in suspense as to what we baked, it would be these cute little owl cookies!
owl cookies8


Right before Anna Cate's birthday party in May, I saw the most adorable whale and sailboat cookies on my friend Megan's blog for her son's first birthday party. They looked like something straight out of a Martha Stewart Magazine! When I asked about them, she said that her mom had made them and sweetly sent me the recipe. I tried making some flower cookies for Anna Cate's party to use as party favors and they turned out precious!

And because I think this is something every mother, teacher, or hostess should know how to do, I thought I'd share. They look a lot harder to make than they actually are. I promise!

Before we get started you'll need:
- 1 to 2 packages of sugar cookie dough
-package of lollipop sticks
-can of Wilton's Meringue powder
-gel food coloring
-1lb bag of confectioners sugar
-cookies cutter
-#3 pastry tip and icing bag

Since I want these to be as fast and easy as possible, I just buy pre-made sugar cookie dough (shhhh, Megan, don't tell your mom!) ;)
Any brand will work, but I usually just buy the generic brand from Wal-Mart. You can also pick up everything else you'll need there too in the party section.

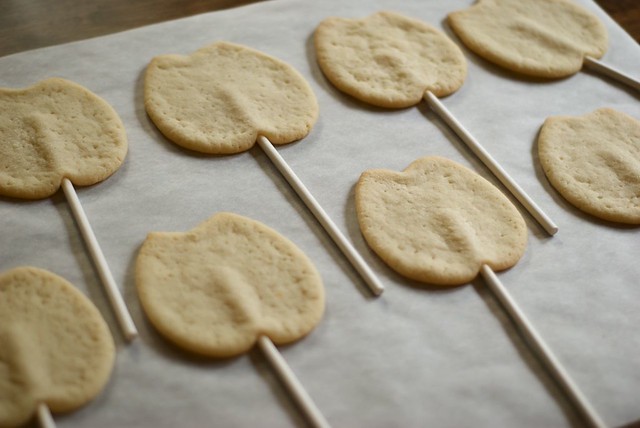
Roll your dough out and cut out your shapes. Make sure that the dough isn't too thin because you'll need a thick cookie to to hold the lollipop stick. If you are making cookie lollipops, go ahead and press your cookies gently onto the sticks as you are placing them on the cookie sheet to bake.

Bake in 350 degree oven for 10 - 12 minutes (longer than I normally bake cookies) but you don't want these to be soft in the middle so they will support the stick and the heavy icing you will be using.
owl cookies2

Let your cookies cool COMPLETELY (at least several hours or overnight). Once they are cooled and have hardened, make the recipe for the Royal Icing that is found on top of the can of Meringue Powder. (Your icing will be thick. You can use a tiny amount of water to thin it out until it will easily squeeze out of a #3 pastry tip.)
owl cookies4

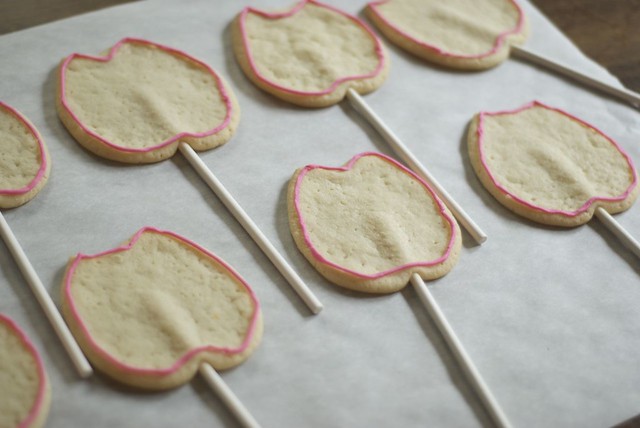
Pipe around the border of your cookie with your icing. As icing dries, it will become very hard.
owl cookies3

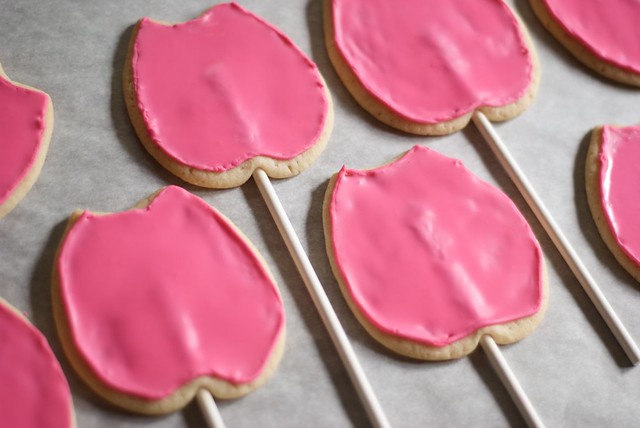
After your icing border has hardened, add a little water to the remaining icing to thin it out and then use it to flood the cookie. MarthaStewart.com has an informative tutorial on their website about how to use royal icing. Bascially, you use the thinner icing to fill in the cookie using a knife or metal spatula. Your icing should have a good sheen to it, but it should not be runny. Remember, extra water in the icing will soften the cookie!

After the icing dries, you can go back and add all of the detailing to your cookies.

owl cookies5

DSC_0041

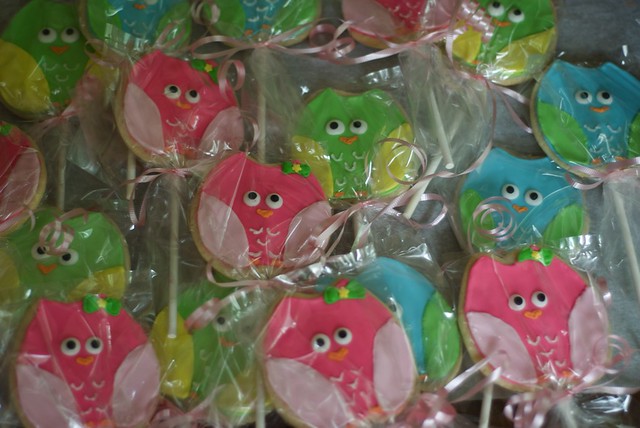
These were made for a good friend's daughter who just turned 1 and had an owl themed birthday party! Boys were invited to the party too so we had to make some green and blue owls to balance out the pink. :)

owlcookies7

owlcookies6

Allow the cookies to dry overnight so that the icing hardens. Then you can box them or individually bag them as favors!
owl cookies

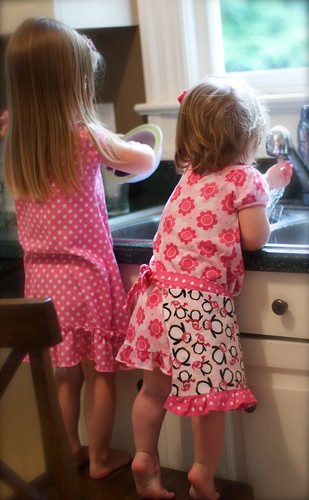
And if you are curious as to how my two "helpers" were entertained while I decorated the cookies, let's just say they were thrilled to stay busy washing our cereal bowls from breakfast!
owlcookies9

Thursday, September 2, 2010

Cute in the Kitchen

DSC_0011

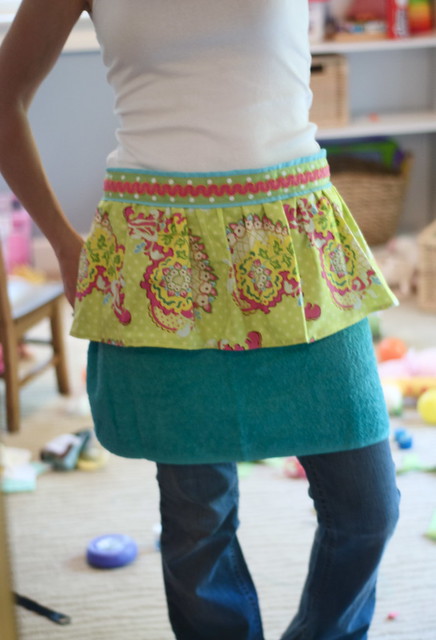
How fun is this apron? And it is practical too because it is made out of a hand towel. I always get my kitchen towels dirty when I bake because I'm constantly wiping the batter and icing off my hands. Is it just me, or does anybody else get messy when baking? When I saw an advertisement for this precious apron in the June issue of Southern Living magazine, it was one of those, Genius! Why didn't I think of that? moments.

This is the third (and favorite) one I've made this summer and thought I'd pass along the idea because they would make super cute Christmas presents (and they take very little time to sew.) The bottom is a hand towel (Target and Wal-mart have some fun colors in stock right now) and the top ruffle part is made with 1/4 yard of fabric. Attach two ties to both sides at the top and finish it up with some fun ribbon and trim.

And what I made wearing them is even cuter! But I'll save that for tomorrow...
:)

*******************
update: I checked my magazine to find out what page the apron was featured on. I stand corrected! It was the JULY issue of Southern Living and it is featured on page 19 in the Made by Southern Hands section. If I can find time, I'll try to work up some sort of quick tutorial for those of you who want to sew one up too!

Tuesday, August 31, 2010

Proof

DSC_0002

Because I don't think she is going to believe me one day when I tell her of all the ways I use to find her during nap time. ;)

although I don't think anything will ever top finding her with her chairs in the bed!

Wednesday, August 25, 2010

Ready or Not

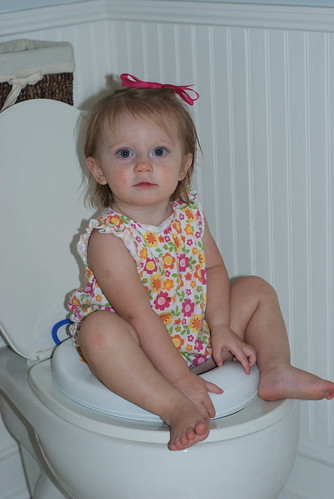
It's that time again! She's been giving me all the signs. Hold on to your hats folks, its going to be a bumpy ride. We are going to start POTTY TRAINING!!!!!!


She's Ready...
DSC_0069

I'm Not.

Pottery training is the one thing I've encountered thus far in parenting that I have not enjoyed. I started potty training Anna Cate the day after her first birthday. She was cloth diapered and had started to take her diapers off when they were wet. It has been a different story with Caroline. Cloth diapering didn't work out so great with her for several different reasons. And using disposable diapers has been bliss. I'm selfishly not ready to deal with the messiness and accidents of potty training and I've come up with some really great reasons all summer for delaying the inevitable. I'm out of excuses. Yesterday Caroline brought me a clean diaper from her room and signed "please" because she needed to be changed. Ok, little one, I hear you loud and clear!


We are prepared and ready to start:

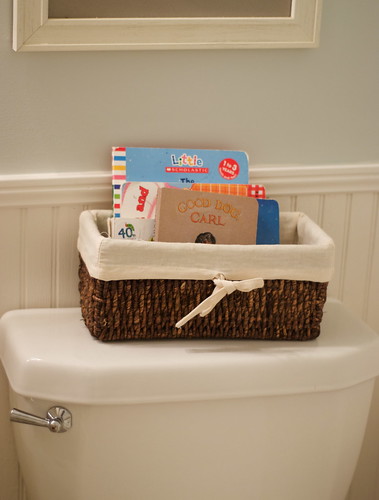
Basket full of books on the potty? Check!
DSC_0112

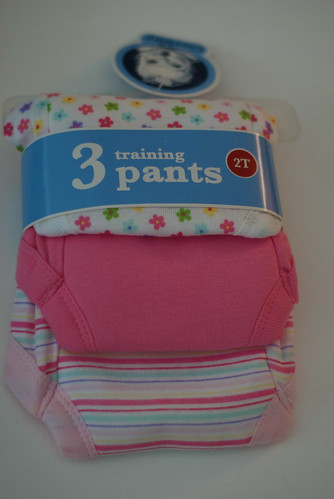
Training pants? Check!
DSC_0107

Eager and excited big sister to help? Check!
DSC_0072

Ready or not...here we go!

Sunday, August 15, 2010

Dressmaking 101

For all of you ladies out there who sew, I thought I'd pass along this little "experiment" I tried over the summer. My sweet husband gave me a gift certificate for Mother's Day to a local boutique to pick out a custom-made dress. With my sister's wedding coming up, he knew I was going to need some new dresses for bridal showers and so forth.

Most of you locals are probably already aware about this darling little boutique. But me? I live under a BIG ROCK. When I opened my gift certificate I was like, "Huh? What?"

I'm not going to share the boutique's name because I don't want to take any business away from her, but there is another company based in Charleston, LulaKate, who makes very similar dresses (just to give you an idea).

I don't know if I was more surprised that I had never heard of this boutique before, or that my deer hunting, Carhart wearing, comes-home-with-muddy-shoes-every-evening-husband not only knew about it, but walked in and bought the gift certificate for me! :)

Once I walked in to pick out my dress, I wanted one of every design.
They. are. precious!
Absolutely adorable!!!!!!

However, they do come with a nice price tag. Being the DIY addict that I am, I decided to see if I could make some similar for myself.

I found some McCalls patterns on sale at Hobby Lobby for 99 cents that looked similar to the dresses I wanted to make. There is a local fabric store that sells a wide selection of duponi silk for $12.00 a yard so I bought 2 yards for each dress. I then tweaked the patterns by adding ruffles where I wanted them to look like the dresses I had seen in the boutique.

And here are the results!

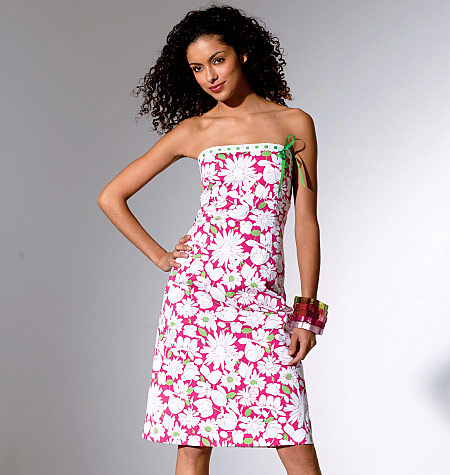
Using the McCall Pattern M4440:
pattern M4440

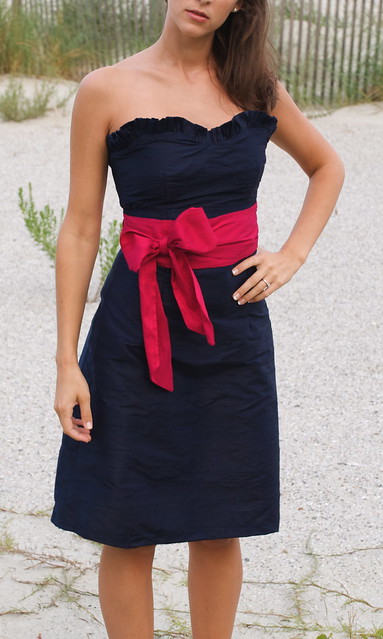
My version:
DSC_0285
What I changed in the pattern to make this dress:
-added a ruffle to the top of the dress
-cut out a slight sweetheart neckline (instead of making it straight across)
-added a sash from a contrasting fabric


Using the McCall Pattern: Laura Ashley M6024


pattern

My version:
DSC_0297
What I changed in the pattern to make this dress:
#1) used Top A & Bottom C (refer to pattern)
#2) ignored the pattern's design for the ruffles and instead just made a standard 2-inch ruffle for the top of the dress. I measured the length from the top where it meets the skirt, all the way around the neckline back to the other side where the top meets the skirt. Multiply that number by 2.5 to find out how long to make your strip of fabric so that when it ruffles up, it will be the correct length.
#3) I also added about 5 inches to the tie to make it wrap around the front of the dress and tie to the side.

*********************
And guess what?
I'm sharing all of this today because I just found out Hobby Lobby is having their 99 cent sale again for all of their McCall patterns this week!!!

If anybody is interested in trying this yourself, let me just encourage you by saying that this was the first time I have ever sewn anything for myself. I have to say, it wasn't as hard as I expected it to be! Each dress took a total of about 4 hours from cutting out the pattern pieces to trying the actual dress on. The total cost for each dress was around $30. People, that is a 10th of what the original dresses in the boutique that I saw were priced!!!

This is totally addicting and I ended up making dresses for my sisters to wear as well! I also have several other designs that I'm working on right now and will share once they are finished. Good luck sewing and let me know if you make one yourself!! :)

Tuesday, August 10, 2010

An Afternoon Tea & Stroll

DSC_0053

DSC_0059

DSC_0037

DSC_0040

DSC_0075

DSC_0088

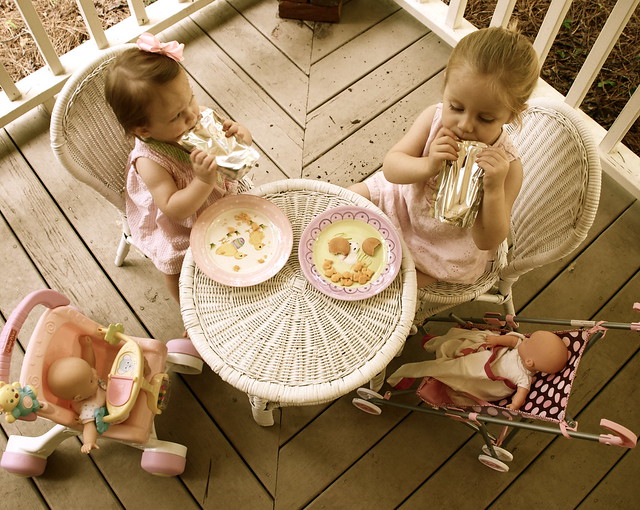
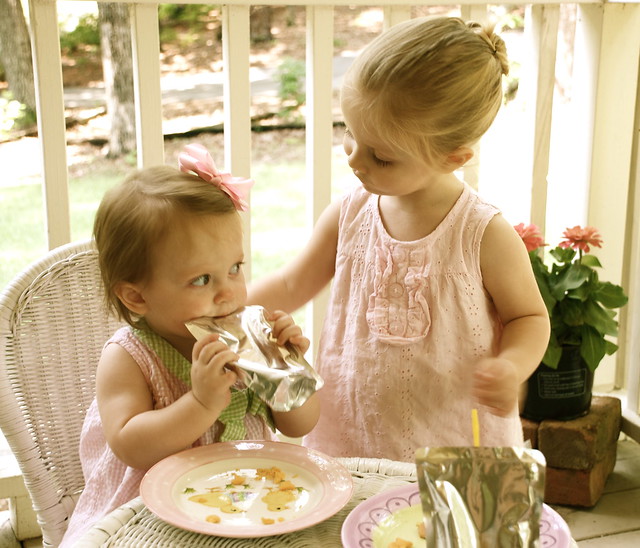
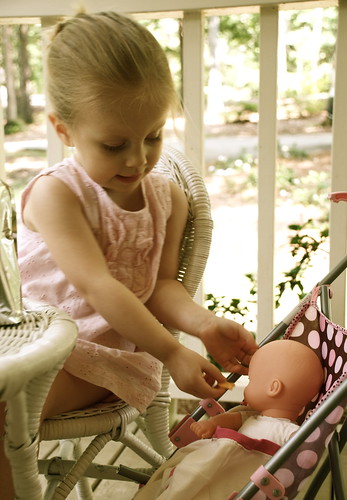
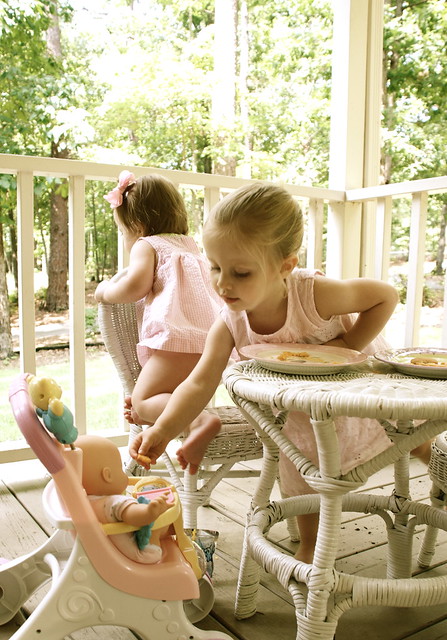
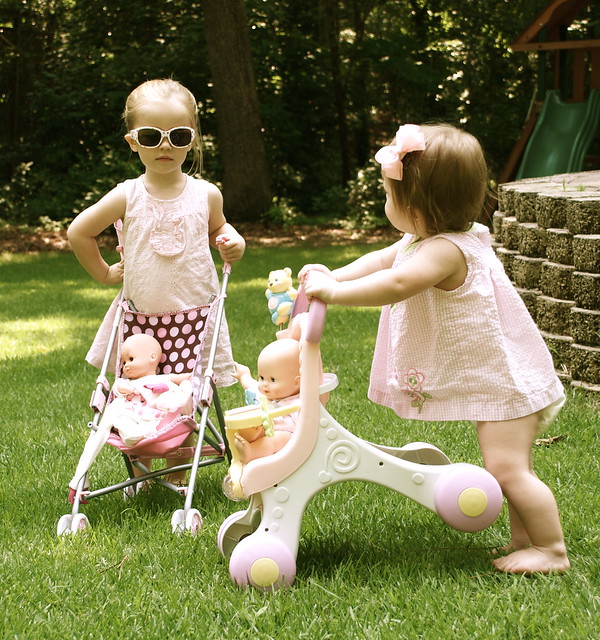
Even though they are blurry, I love these pictures because they capture a bit of the every day details that make up our little life right now.

Anna Cate's favorite pink dress that she has asked to wear every. single. day. this summer.

Caroline trying to be just as big as her sister and copying everything Anna Cate does.

Anna Cate in her role as big sister, not only loving and doting on Caroline, but taking care of Caroline's doll too when Caroline is neglecting her responsibilities as a mother! :)

Monday, August 9, 2010

Happily Ever After


C&ACwedding

We are recovering from a whirlwind summer of wedding planning, parties, and bridal showers. Charlee and Robbie were married this past Saturday and started their Happily Ever After!

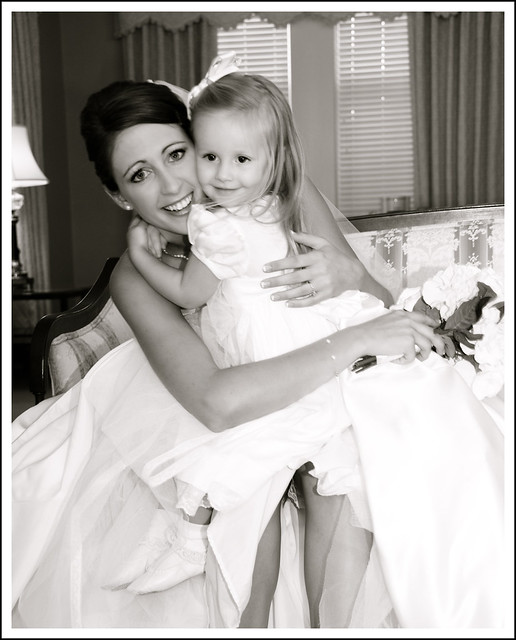
It was a beautiful wedding and I had grand plans for taking pictures all day. Unfortunately, this was one of the only pictures I had time for on Saturday, but it is my favorite. Anna Cate was a fabulous flower girl and didn't know what to do with herself with all weekend. She loved every minute of the dressing up and playing out the cinderella fairy tale. To top it all off, she got to dance with her daddy all night long and never left the dance floor once we got to the reception! Hopefully we will have more pictures from the photographer to share soon!