
OK, so seriously, let's just pretend it didn't really take me almost two weeks to find the time to blog about what I made in the kitchen with the apron (which by the way, wasn't even the one I actually wore because it was a gift but looked cuter than the one I actually made for myself!) Details, details...
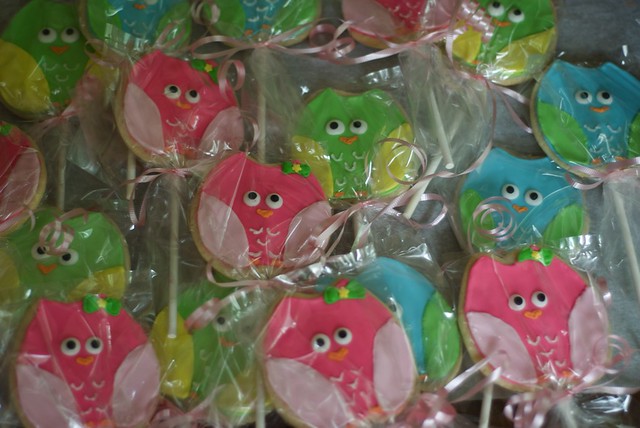
In case I did happen to keep anybody in suspense as to what we baked, it would be these cute little owl cookies!

Right before Anna Cate's birthday party in May, I saw the most adorable whale and sailboat cookies on my friend Megan's blog for her son's first birthday party. They looked like something straight out of a Martha Stewart Magazine! When I asked about them, she said that her mom had made them and sweetly sent me the recipe. I tried making some flower cookies for Anna Cate's party to use as party favors and they turned out precious!
And because I think this is something every mother, teacher, or hostess should know how to do, I thought I'd share. They look a lot harder to make than they actually are. I promise!
Before we get started you'll need:
- 1 to 2 packages of sugar cookie dough
-package of lollipop sticks
-can of Wilton's Meringue powder
-gel food coloring
-1lb bag of confectioners sugar
-cookies cutter
-#3 pastry tip and icing bag
Since I want these to be as fast and easy as possible, I just buy pre-made sugar cookie dough (shhhh, Megan, don't tell your mom!) ;)
Any brand will work, but I usually just buy the generic brand from Wal-Mart. You can also pick up everything else you'll need there too in the party section.
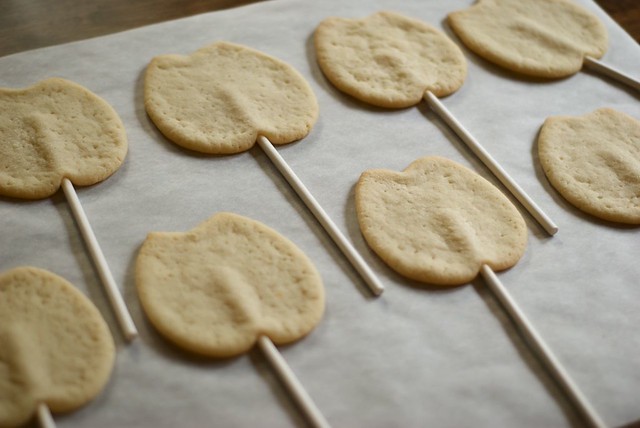
Roll your dough out and cut out your shapes. Make sure that the dough isn't too thin because you'll need a thick cookie to to hold the lollipop stick. If you are making cookie lollipops, go ahead and press your cookies gently onto the sticks as you are placing them on the cookie sheet to bake.
Bake in 350 degree oven for 10 - 12 minutes (longer than I normally bake cookies) but you don't want these to be soft in the middle so they will support the stick and the heavy icing you will be using.
Let your cookies cool COMPLETELY (at least several hours or overnight). Once they are cooled and have hardened, make the recipe for the Royal Icing that is found on top of the can of Meringue Powder. (Your icing will be thick. You can use a tiny amount of water to thin it out until it will easily squeeze out of a #3 pastry tip.)
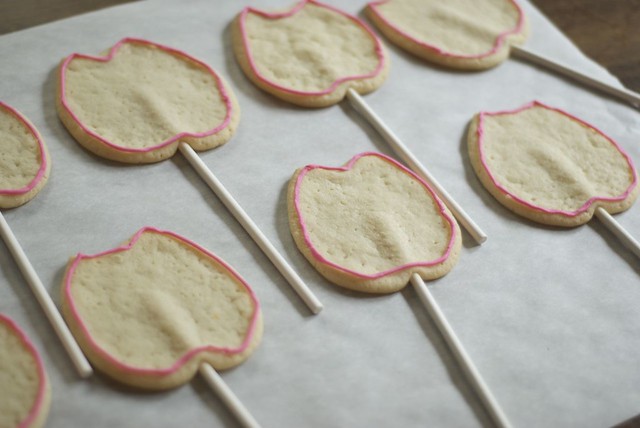
Pipe around the border of your cookie with your icing. As icing dries, it will become very hard.
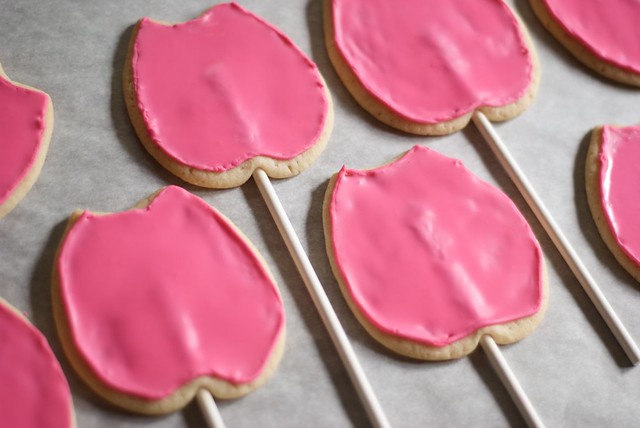
After your icing border has hardened, add a little water to the remaining icing to thin it out and then use it to flood the cookie. MarthaStewart.com has an informative tutorial on their website about how to use royal icing. Bascially, you use the thinner icing to fill in the cookie using a knife or metal spatula. Your icing should have a good sheen to it, but it should not be runny. Remember, extra water in the icing will soften the cookie!
After the icing dries, you can go back and add all of the detailing to your cookies.

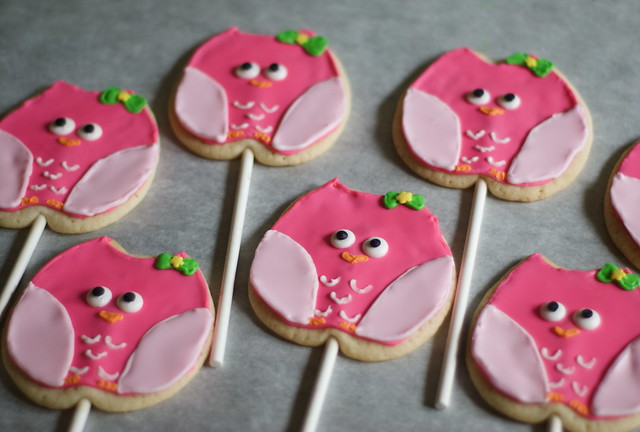
These were made for a good friend's daughter who just turned 1 and had an owl themed birthday party! Boys were invited to the party too so we had to make some green and blue owls to balance out the pink. :)


Allow the cookies to dry overnight so that the icing hardens. Then you can box them or individually bag them as favors!
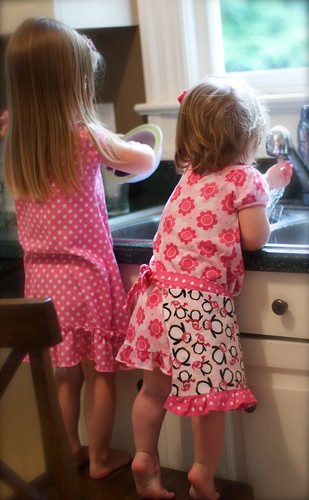
And if you are curious as to how my two "helpers" were entertained while I decorated the cookies, let's just say they were thrilled to stay busy washing our cereal bowls from breakfast!
Bet you didn't know I read your blog sometimes! M's mom - The cookies are absolutely adorable as is everything you do!
ReplyDeleteYou are Supermom! Can't wait to try this recipe!
ReplyDeleteJust happened across your blog and these are adorable!! I need an excuse to make them now!
ReplyDelete